Azure Static Web Apps supports Python 3.11. Here's how to build yours with Azure CLI.
A right of passage for many developers is to build their own website and many of us take on the harder task of using Python to do it.
I personally have been using my static site generator for years as a way to practice writing maintaining Python code.
When I joined Microsoft, I naturally wanted to move my site over to Azure as a way to learn how to deploy web applications to the platform.
I returned to work in 2023 to a wonderful surprise that Azure Static Web Apps and Web App Service now support Python 3.11.
Python 3.11 is Fast and Efficient
Python 3.11 brings about some of the first round major performance improvements that our own faster CPython team and others have been working on. Promises of performance Improvements between 10-60% seem to be holding up as PyPI saw a noticeable improvement on their system.
Python 3.11 delivers. pic.twitter.com/gqX8xb31ue
— Python Package Index (@pypi) December 14, 2022
With that, let see how easy it is to deploy your website to Azure which most sites can deploy for free and take advantage of using Python 3.11 to deploy your site.
Deploying HTML through Python
As my Dev.to post mentioned, we can't really deploy python directly to a static web app as no static site generators have native support. That said, we can build our site in Python and then deploy the output and our workflow will include that.
This deployment process runs through GitHub Actions which means that we have the full flexibility of automating this process to our desire.
Before We Start
Before we start, we'll need to make sure that we have the following:
- A GitHub account
- A GitHub repo with your site's code
- A requirement.txt file with the following packages
- A script to build your site's HTML, CSS, and Javascript
Generate Your Azure Static Web App Resources
We're going to use the Azure CLI but you can also use the web portal or VSCode. We can follow the steps included in this tutorial for vanilla javascript. Instead of using their demo, we'll use our existing static web app.
The first couple steps are the same:
- Login to Azure.
az login
- Create a resource group. For valid locations check the [Products Available by Region] site
az group create \
  --name my-static-app
  --location "westus"
- When you deploy your app, you will need to make sure that you set a few extra commands. We'll break down the options below the code.
az staticwebapp create \
    --name my-first-static-web-app \
    --resource-group my-swa-group \
    --source "https://github.com/<GITHUB_USER_NAME>/my-static-web-app" \
    --location "westus" \
    --branch main \
    --output-location "<OUTPUT_PATH>"
    --login-with-github
source is the Github url of your project. You will need to upload your data to Github or Azure DevOps. We'll be following the GitHub route which is why we also pass in a --branch and --login-with-github
output-location is the path to the folder that you want to deploy. This is the generated HTML, CSS, and Javascript that you want to deploy.1
Generate The Base Site
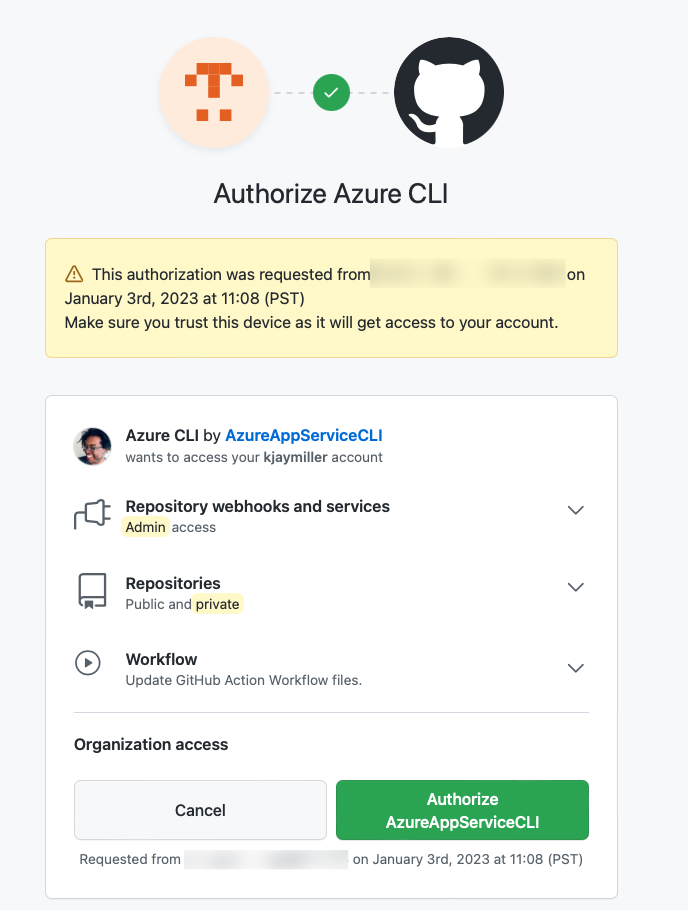
When you execute that last command, you will need to authenticate with GitHub. Login using the webserver and Authorize the app.
It will take a couple seconds but once completed, you should get some output. We can ignore this because most likely our deployment has failed. We'll fix that soon but looking at GitHub Actions for that repo we should now see a new action called Azure Static Web Apps CI/CD.
We should also see a failed action trigger called add Azure Static Web Apps workflow file. Let's take a look at the failed action and learn why if failed and what we'll need to do to fix it.
Fixing the Failed Action
The action failed because we didn't have a build command setup.
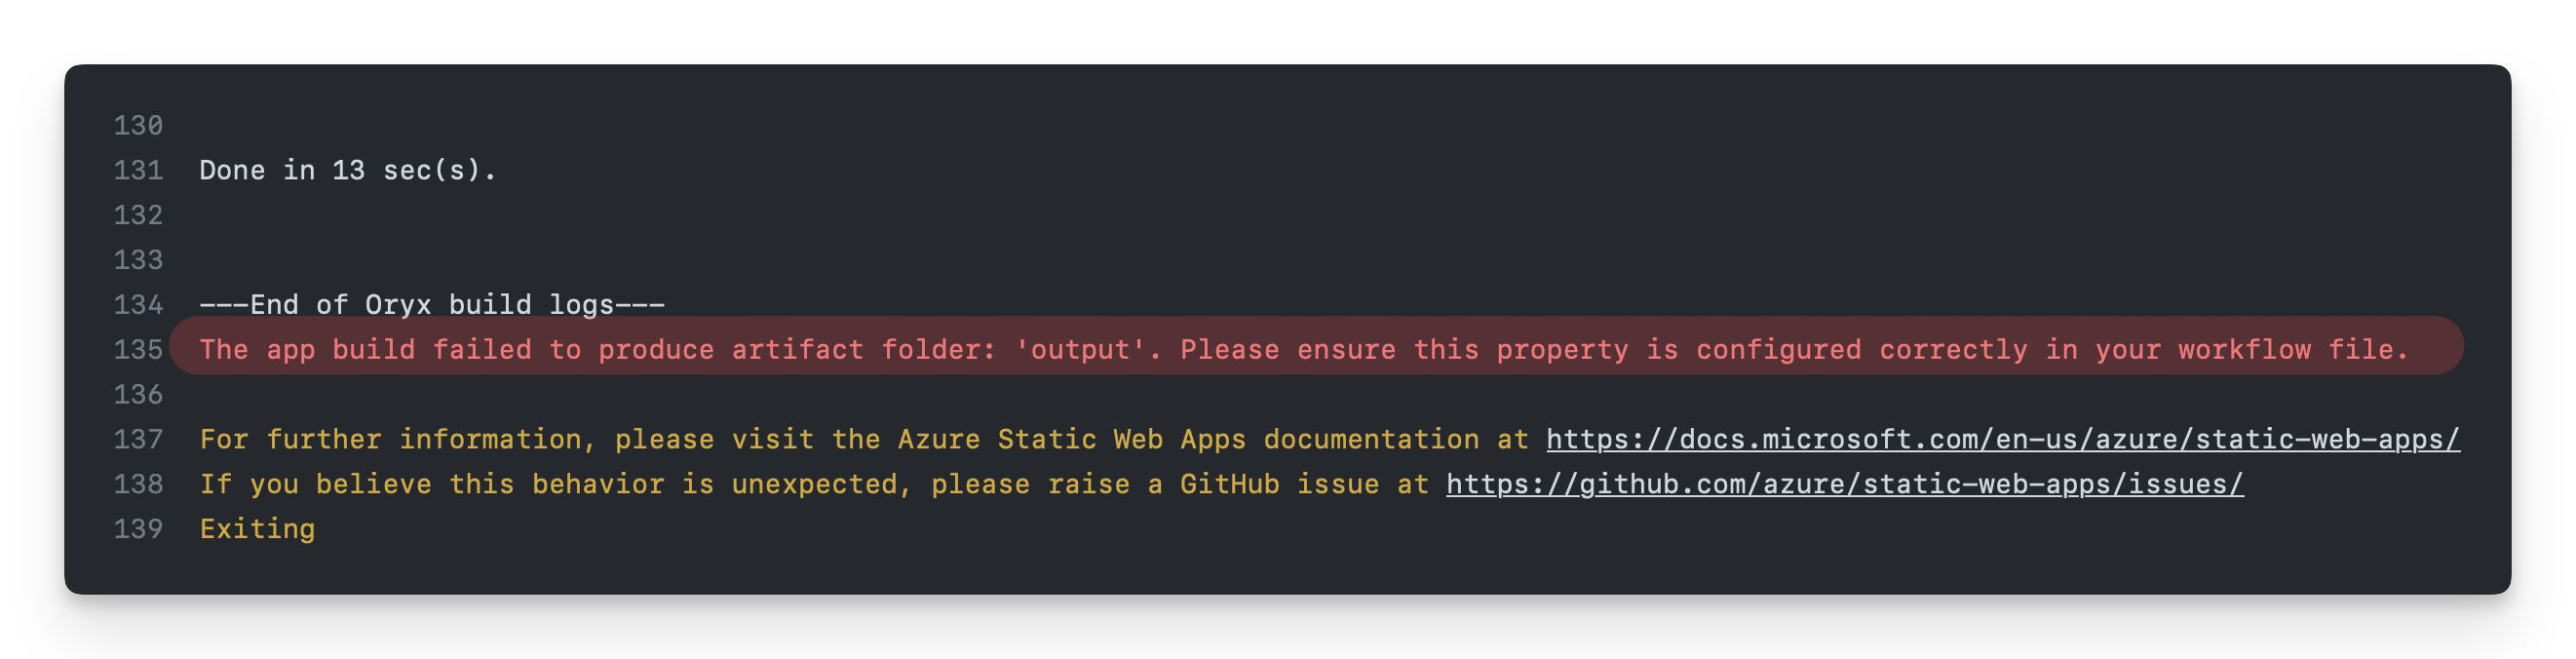
Azure Static Web Apps notices the requirements.txt file and runs pip install -r requirements.txt to install the dependencies but that's it for us.
Even though the action failed, a new file was added to our repo called .github/workflows/azure-static-web-apps-<UNIQUE_STRING>.yml. This file is what we'll be using to deploy our site.
We need to add additional steps using the this to our POST_BUILD_COMMAND. If you have any kind of pre-processors (I'm using tailwindcss to build my site) add a shell script with all your steps and add the shell script in the action's build and deploy step as an envrioment variable. Alternatively, you can add the command used to build your site directly in the action's build and deploy step. eg. python build.py.
jobs:
  build_and_deploy_job:
    if: github.event_name == 'push' || (github.event_name == 'pull_request' && github.event.action != 'closed')
    runs-on: ubuntu-latest
    name: Build and Deploy Job
    steps:
      - uses: actions/checkout@v2
        with:
          submodules: true
      - name: Build And Deploy
        id: builddeploy
        uses: Azure/static-web-apps-deploy@v1
        with:
            ... # There is a lot there
        env:
            POST_BUILD_COMMAND: ./build.sh
Make sure that your build script outputs to the output-location that you specified in the az staticwebapp create command.
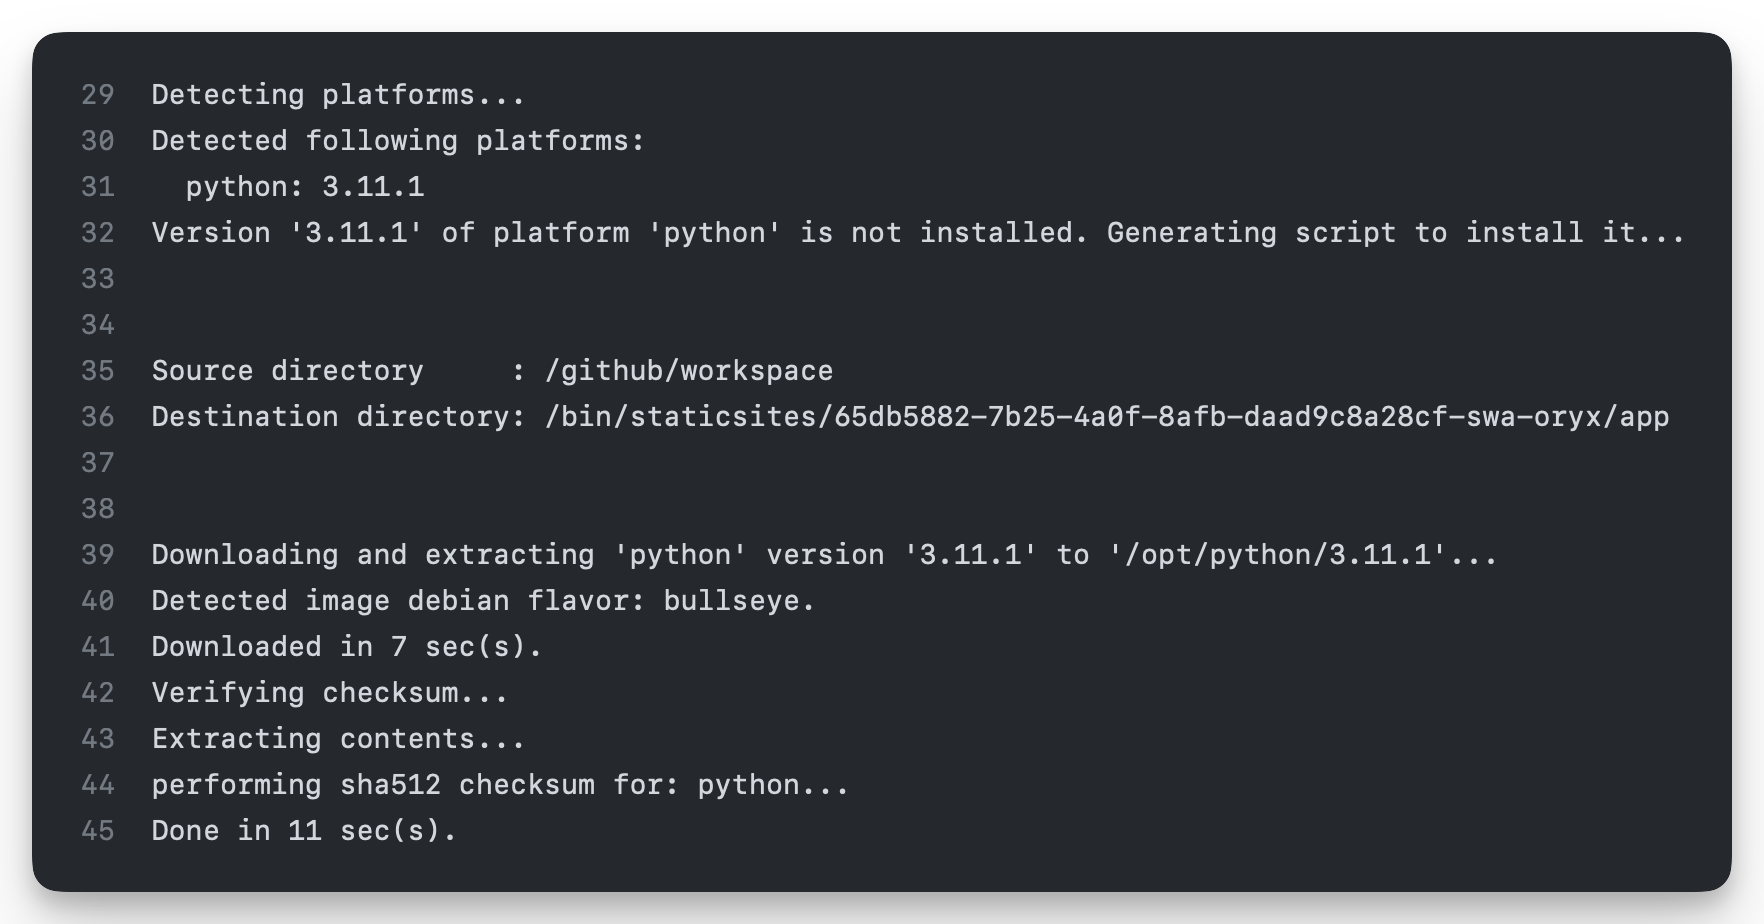
Setting your build to Python 3.11
If you looked closely at the output of the failed action, you'll notice that the build is using Python 3.9. That's just the default at the present time. Fret not, we can change that.
We can set our build to use Python 3.11 by adding a PYTHON_VERSION environment variable to our action. This goes along with our POST_BUILD_COMMAND environment variable.
env:
    POST_BUILD_COMMAND: ./build.sh
    PYTHON_VERSION: "3.11"
Last Steps
Once you make these changes you can commit and push them to your repo. This will retrigger the workflows. If all goes well, you should see a successful build and deploy. Selecting will reveal in the output a link to your site.
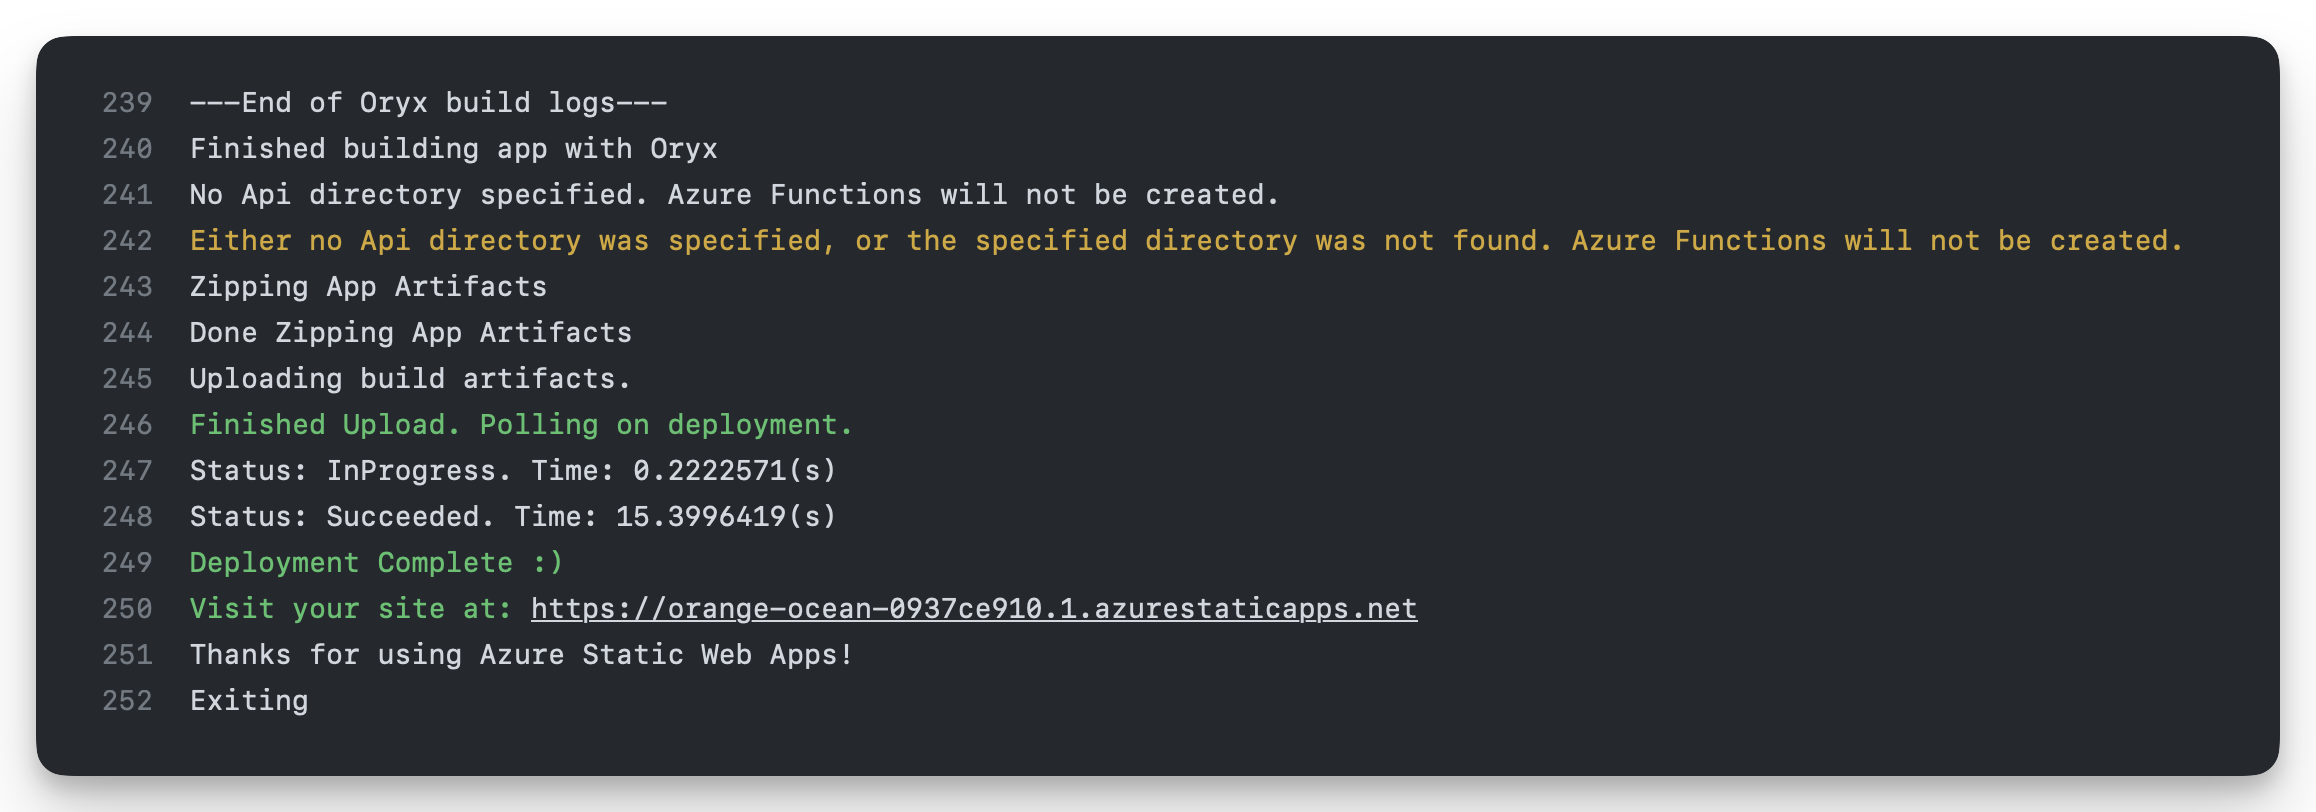
Higher in the action output, we can see that the site was built using Python 3.11
You've built your site but its probably not at the URL that you would like. You can change that by going into the Azure portal and setting a custom domain.
But now you have a static web app running on azure.